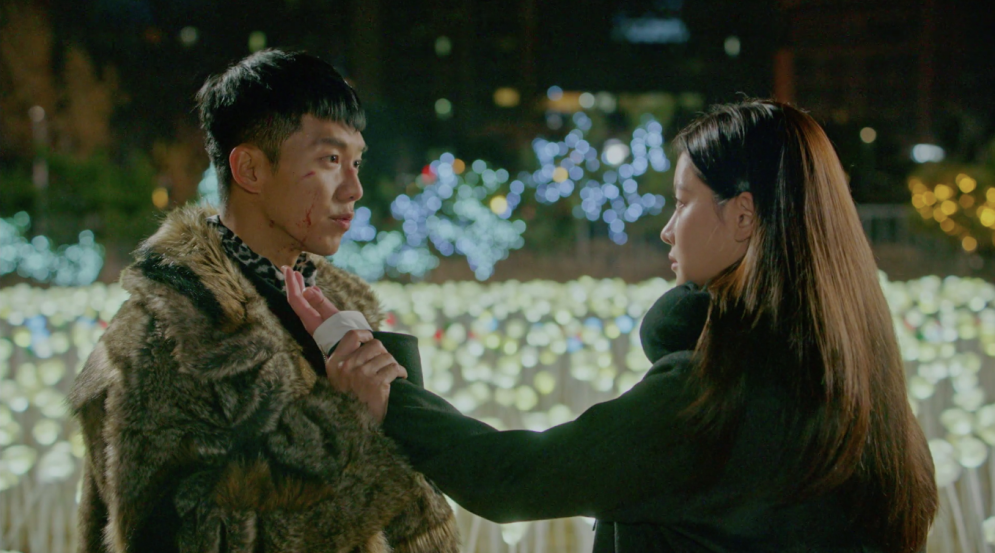
The scent of her blood fills the air, and in no time, the demons are swirling around her. Frightened, she shouts “Son Oh-gong!” As the demons draw closer, a figure flies towards her and lands by her side. Son Oh-gong is here… 😉
How’s your crochet progress? This is the last post of my 3-part series. But stay tuned for a bonus post next week on how to make the geum gang go (gold headband) for your monkey.
Let’s wrap up with the most tricky part of the pattern – his head. It could take you slightly more than 3h to complete.

WHAT YOU NEED:
- 3mm crochet hook (Note the change in hook size)
- 8-ply yarn in red
- 8-ply yarn in beige
- Black and white needle felt wool strips
- Needle felting tools
- Black embroidery thread and sewing needle
- Black and white felts (alternative to needle felting)
- Craft glue (alternative to needle felting)
- Polyester stuffing
- Scissors and yarn needle
*Please see reference guide before starting your project.
INSTRUCTIONS:
Face
Using beige yarn,
Row 1: Ch 11
Row 2: 10sc from 2nd ch
Row 3: Ch 1, turn. 2inc, 6sc, 2inc
Row 4: Ch 1, turn. inc, 12sc, inc
Row 5-6: Ch 1, turn. 16sc
Row 7: Ch 1, turn. inc, 14sc, inc
Row 8-12: Ch 1, turn. 18sc
Row 13: Ch 1, turn. sc, 2hdc, 3dc, 2hdc, sc
Row 14: Ch 1, turn. dec, hdc, 3dc, hdc, dec
FO, and weave in the ends.
Rejoin the yarn from the other side of the face plate and work in the direction towards the other curve.
Row 14: Ch 1, turn. sc, 2hdc, 3dc, 2hdc, sc
Row 15: Ch 1, turn. dec, hdc, 3dc, hdc, dec
Crochet counter-clockwise i.e. 13sc down, 10sc across, 13sc up, 7sc around the curve, 5 sl st in the area between the two curves, and 7 sc around the other curve.
FO, and weave in the ends.
Head
Using red yarn,
Start from the 6th stitch along the bottom.

Rnd 1: 5sc, inc, 10sc, (inc, sc) * 5 times, 3sc, (sc, inc) * 5 times, 10sc, inc, 5sc
Rnd 2: 17sc, (inc, 2sc) * 4 times, 2dec, sc, 2dec, (2sc, inc) * 4 times, 17sc
Rnd 3: 33sc, dec, sc, dec, 33sc
Rnd 4: 32sc, dec, sc, dec, 32sc
Rnd 5-9: sc around
Rnd 10: (5sc, dec) around, 4sc
Rnd 11-13: sc around
Rnd 14: (7sc, dec) around, 4sc
Rnd 15: (11sc, dec) around
Rnd 16: (6sc, dec) around
Rnd 17: (5sc, dec) around
Rnd 18: (4sc, dec) around
Rnd 19: (3sc, dec) around
Rnd 20: (2sc, dec) around
Rnd 21: (sc, dec) around
Stuff head.
Rnd 22: dec around
FO, and weave in ends.
Expression
Using the embroidery thread, sew the eyebrows, eyelashes and mouth lines. Those marked out in pink ink. See diagram below.
Some tips:
- 4st apart for the eyelashes and eyebrows. Take small stitches when making the eyebrow curves. Don’t pull the thread too snuggly, else you will end up with a pair of super straight/ squarish eyebrows.
- You should sew the eyebrows first to use it as a gauge for the eye placement. I would recommend sewing the eyelashes after you have placed the eyes so that the thread sits nicely on the eyes and not beneath it.

There are two ways to go about the eyes and nose.
- Needle felt the features, as per what I did.
- Cut and paste the wool/acrylic felt pieces onto the head. This is a faster method. I would have opted for this over needle felting if I had my craft glue with me.
Assembly
Sew all the parts together and voila! You have your very own Son Yook-gong. He can be your lunch buddy from now on.

Don’t forget to keep a lookout for the bonus post next week! Till then ^_^
Listening to: Let Me Out by NU`EST W


hello, can you clarify Round 2 (Head) of Monkey Plush crochet? Thank you
LikeLike
Hi Meo, I just realised there was a typo in the head pattern for rnd 2. Have amended the post. Apologies for the confusion.
LikeLike
Sorry can you explain more detail,how to join the red yarn first with the face.. I’m still confuse with this “Start from the 6th stitch along the bottom”…
Thank you so much
LikeLike
Hi Esti, thanks for reaching out. I have done a quick sketch to depict the placement for the 6th stitch. Pls see my updated blog post for the image as I am unable to attach it in my reply to you. Let me know if you need further clarifications 🙂
LikeLike
Thank you so much.. I’m so appreciate your sketch 😊
LikeLike
You are most welcome! Pls share with me pictures of your completed work. I’d love to see it 😀
LikeLike
Hi,
Do you have a model or something on how to do the eyes? I’m new at crochet and I’d love to do this little guy, but I have no clue how to make the eyes…
LikeLike
Hi there 🙂 I have added a quick sketch with some additional tips on the embroidery portion in this updated post. Cheers!
LikeLike
hi there
can you explain to me head using the red yarn
for round 2 because it doesnt match the ring with round 1
is that right?
thanks a lot
LikeLike
Hi Mei, there was a typo in my pattern. Have amended it. Apologies for the confusion.
LikeLike
I dont really understand the part when u finish off the face en them “rejoin” amd stuff im really confused. Are u able to help me? Cause im making this for my mom heheh
LikeLike
Hi Donja, can you pm me your email address so I can send you a quick sketch to help explain that liner? Am unable to attach a photo in this reply function.
LikeLike