Happy Mother’s Day to all Mummies out there! Today, I will share a quick tutorial on how to DIY a jewelry case to store your favourite every day pieces when you are on the go.
WHAT YOU NEED:
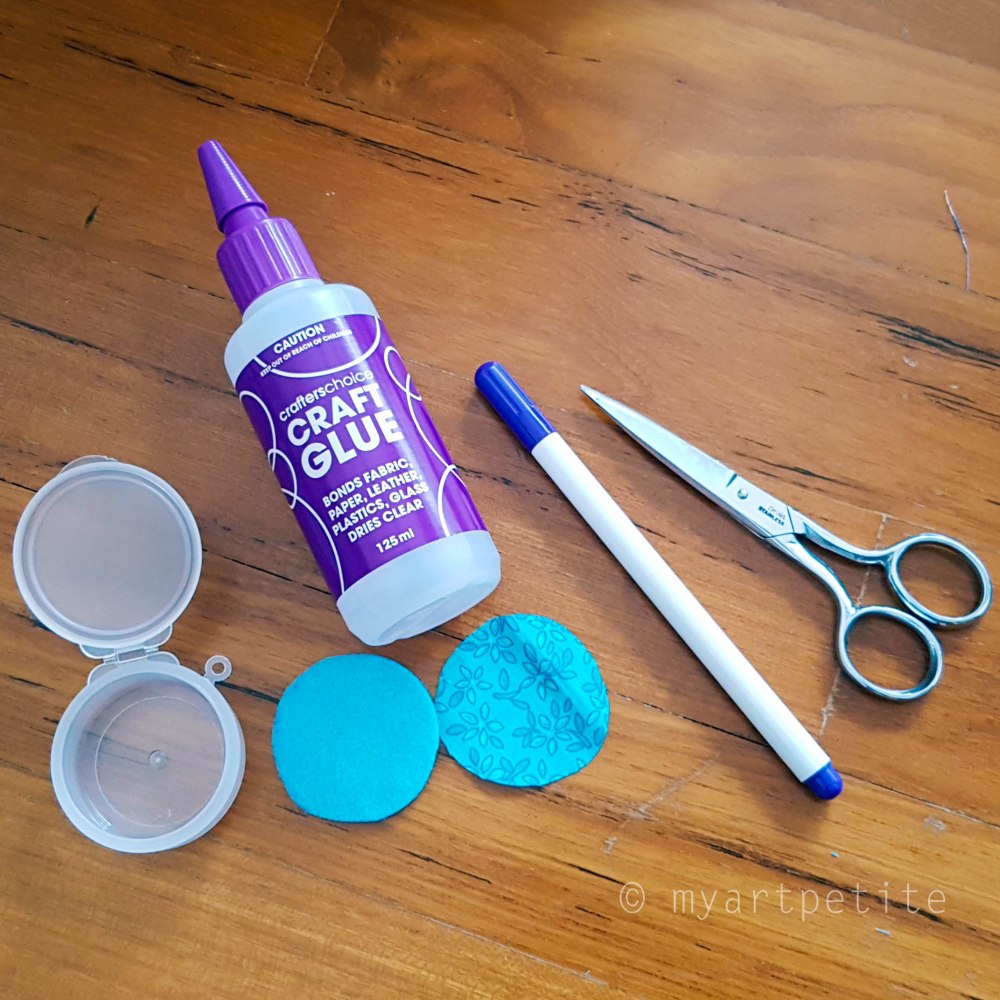
- Small Plastic Container (I bought mine from Daiso)
- Wool/Acrylic Felt
- Fabric Scraps
- Craft Glue – Suitable for Fabric and Plastic
- Fabric Marker
- Scissors
INSTRUCTIONS:
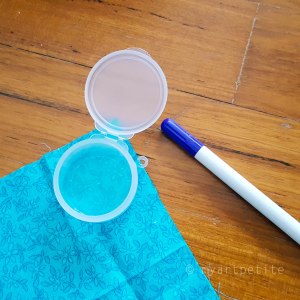
- Using the fabric marker, trace the base of your plastic container onto the felt and fabric. Cut out the pieces.
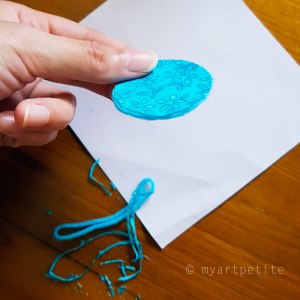
- Trim the edge of the cut-out pieces until it fits nicely into the container.
- Glue the felt and the wrong-side of the fabric together. Trim the fray edges and any excess felt/fabric.
- Glue the felt to the bottom of the container. Leave it to dry.
- Voila! Your travel jewelry case is ready for use 🙂

ps. I’d love to see your finished creation! Please tag me on IG and/or FB. Thanks!
Happy crafting!
